


All our articles
Swimming pool hydraulic connection: guide
Swimming pool hydraulic connection
Your swimming pool is gradually taking shape before you. You have previously chosen the ideal location before starting the excavation and construction. Your walls are now poured and the concrete has hardened. The next step is to create a leveling course, apply a coating, and connect the parts to be embedded.
Creating a leveling course
It is now time to create a leveling course (arase) over the entire surface of your pool. This leveling course will ensure that the height of the walls is uniform around your pool. Additionally, it will allow you to adjust the height of the walls relative to your terrain or your terrace.
In fact, the leveling course is not just a necessary finish; it also allows you to rectify any potential measurement errors and perfectly integrate the whole structure into your exterior.
To create a leveling course, use formwork boards. Secure them at the desired height with clamps. Then, fill with a mortar well-dosed in cement.
The finishing coat
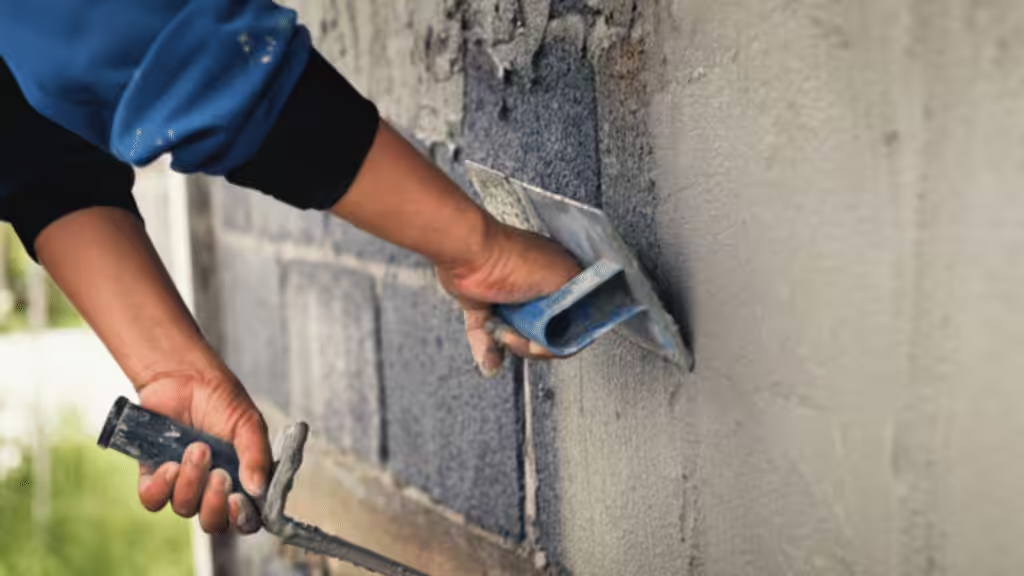
Once the leveling course is dry, apply a finishing coat inside the pool with very fine sand and a well-dosed (rich) cement. Finally, install the liner tracks on the pool’s leveling course.

Connecting the parts to be embedded
This involves connecting all the parts to be embedded using flexible PVC pipes. It is preferable to use one pipe per part. Indeed, this avoids linking several skimmers or several return inlets together. A connection with a single pipe per element will ensure efficient filtration and thus better water quality.
Lay the pipes at the bottom of a trench connecting to the equipment room, ideally on a bed of sand. To do this, run the pipes through red-colored conduits (electrical conduit type). Above all, avoid using rigid PVC, even PN16, as it will not withstand ground movements and could cause leaks.
⚠️ ATTENTION: before gluing the pipes into the wall conduits, it is IMPERATIVE to cut the excess of the conduit on the pipe side, flush with the pool wall. Without this, a shearing effect could break this conduit and cause a major leak! Finish by leading all the pipes into the equipment room through a “slotted opening”.
Discover other sections of the Swimming Pool Construction Guide.
Previous steps:
⛱️ Swimming pool construction guide #1: choosing the location and administrative procedures
🛟 Swimming pool construction guide #2: Excavation & Masonry
Next steps:
💦 Swimming pool construction guide #4: Equipment Room
☀️ Swimming pool construction guide #5: waterproofing, liner, and filling with water
 Tablier PVC seul
 Coffret Alimentation 24V Hors Sol
 Coffret Alimentation 24V Immergé
 Contacteur à clé
 Télécommande
 Bouchon à coller PVC
 Capuchon de lame PVC
 Sangles et attaches de piscine
 Turbine de nage – Intégrée
 Turbine de nage – Saillie amovible